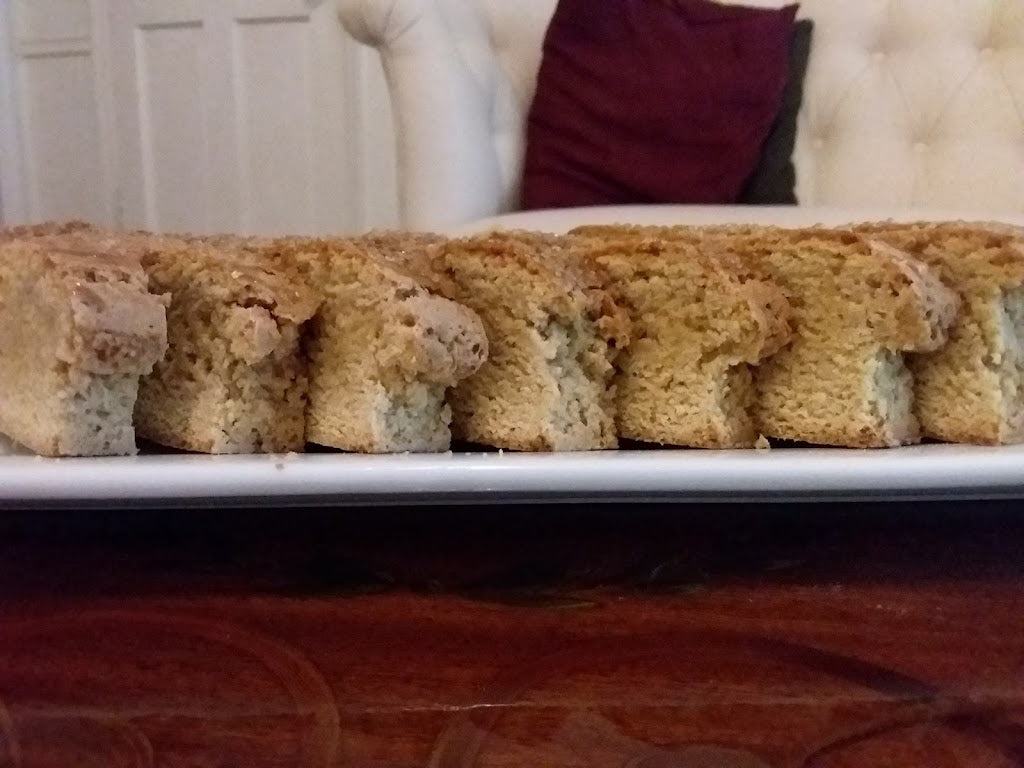

Almond Biscotti
Almond Biscotti is a favorite. Sweet, but not too much, with a warm, nutty flavor. The crumbly texture falls apart in the mouth delightfully. Biscotti are popular for tea, dessert, or a snack.
Almond Biscotti
Almond biscotti is a delightful Italian cookie. It is shaped like an oblong crescent sliver and can be eaten as is or dunked in a beverage. The texture is coarse and mealy with that warm, nutty flavor, complimented with brown sugar and cinnamon.
Almond Biscotti is so simple to make. You can throw all of the ingredients together and mix by hand. It forms a dry dough that you can form by hand into a log. Place it on a baking sheet and pop it into the oven. The heat will cause the log to relax and flatten out a bit, thus giving you the elongated crescent shape.
Traditional biscotti is a twice-baked delight. The second time in the oven dries it out more so it is more crunchy. If you like your biscotti on the softer rather than hard side, just don't do that second bake.
Planning
-
Prep Time:
30 minutes
-
Cook Time & Temp
30 minutes + 10-20 minutes
-
Chill/Set Time:
20 minutes + 20 minutes
-
Yield & Servings:
Approx 16 - depending on how thick you slice them.
Preparation
-
Materials
Baking Sheet, Parchment Paper, Mixing Bowl, Spatula, Stand Mixer
-
Prep
Preheat oven to 350F
Line a rimmed baking sheet with parchment paper -
Ingredients
Flour, Joval Einkorn 240g
Granulated Sugar 150g cup
Almond Meal 25g cup
Baking Powder 1½ tsp
Salt 1/4 tsp
Eggs-Large 3 (2 mix in and 1 to glaze)
Butter, melted 57g Almond Extract 1 tsp
Vanilla Extract 1 tsp
Rum or Extract 1 tsp
Almonds, Sliced 1/4 cup
-
Shopping List
Joval Einkorn Flour or Cake Flour
Granulated Sugar
Almond Meal
Baking Powder
Salt Eggs
Butter
Almond Extract
Vanilla Extract
Rum or Rum Extract
Almond Slivers
Ingredients & Steps
-
Steps
STEP 1: DRY INGREDIENTS. Put all dry ingredients in the bowl of the stand mixer: flour, sugar, almond meal, baking powder, and salt. Whisk together by hand.
STEP 2: WET INGREDIENTS. With a paddle on the mixer, mix in wet ingredients: 2 eggs, melted butter, and extracts. Mix on low until combined and dough starts to form. (mixture will still be somewhat crumbly.)
STEP 3: KNEAD -Add almonds and mix just until combined. Transfer dough to a lightly floured surface. Knead a few times to form a cohesive dough. Divide in half. Shape each half into a 1-inch-thick (5x3-inch) rectangle.
STEP 4: BAKE - Divide in half. Shape each half into a 1-inch-thick (5x3-inch) rectangle. Place on prepared pan at least 4 inches apart. Brush dough with beaten egg or cream. Sprinkle with sugar, if desired. Bake until dough is cracked and outside is lightly brown, about 30 minutes.
STEP 5: Brush dough with beaten egg or cream. Sprinkle with sugar, if desired. Bake until dough is cracked and outside is lightly brown, about 30 minutes.
STEP 6: COOL - Cool on wire rack for 20 minutes. Reduce oven temperature to 325F.Reduce oven temperature to 325F.
STEP 7: TWICE BAKE - Using a serrated knife, cut each piece into 1-inch-wide slices. Place slices back on the baking sheet cut-side down. Bake for another 10-20 minutes, depending on how dry you like it. The more it bakes it also gets harder.
STEP 8: COOL - Cool completely on a wire rack. -
Notes
Collections
-
Kitchen Aprons
Shield clothing, keep essential culinary tools within arm’s reach, and cook with...
-
Cake Decorating
Shop our Cake Decorating collection for all of the tools and utensils...
-
Coffee & Espresso Brewers
Brew rich espresso, velvety French press, and clean pour-overs with professional 20-bar...
-
Dessert Plating
Frame individual tarts, cake slices, and patisserie creations with curated porcelain, ceramic,...
-
Kitchen Appliances
Elevate your kitchen and table with curated kitchen appliances designed for effortless...
-
Kitchen Linens
Elevate your kitchen with curated kitchen linens designed for timeless texture, daily...
-
Kitchen Containers
Food Storage products are more than just something to put foods into....
-
Kitchenware
Elevate your kitchen and table with curated kitchenware essentials designed for timeless...
-
Mise en Place Essentials
Organize pre-measured ingredients, streamline your cooking flow, and master efficient kitchen prep...