Pâte Sucrée
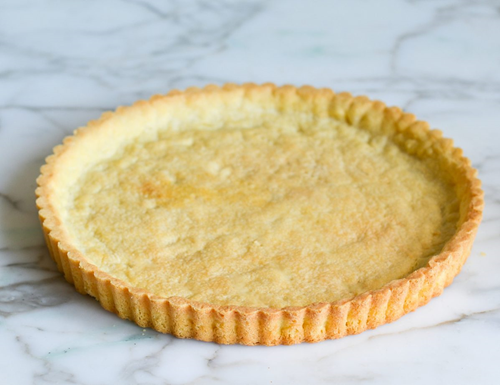
Pate' Sucree' is my absolute favorite crust. It is used for pies, tarts, flans, and entremets. It is almost like a cross between a cookie and a crust. It has a light, slightly sweet flavor somewhat reminiscent of a cookie.
Pâte Sucrée
This is my favorite crust. To me everything is better with a pate' sucree' crust than a short crust. This is common in French desserts such as flans, tarts, and entremets.
Planning
-

Prep Time:
10 minutes
-

Bake/Cook Time:
20 minutes
-

Chill/Set Time:
2 hours (1 hr + 1 hr)
-

Servings:
Two pie crusts for 8-10" pie
Preparation
-

Materials
Silicone Pastry Mat
Rolling Pin
Mixing Bowl
Pastry Cutter
Large Flat Spatula
Hand Whisk
Pie Pan or Flan Pan -

Prep
EGGS: Separate the eggs and keep cold in the refrigerator until moment you use them.
FATS: Prepare your cold diced butter/shortening in advance. The butter should be cold-very, very cold, just not frozen. I keep mine in the fridge and then put it in the freezer for 15-20 minutes before and after I dice it into small pea sized cubes.
DRY INGREDIENTS: Measure out your dry ingredients and put in the refrigerator for 15-20 minutes before use.
KITCHENWARE: Also chill the mixing bowl and utensils. Put a silicone pastry mat on a countertop. Dust it with flour and put a small bowl with some flour beside it to dust as needed. -

Oven/Stove
375F/190C for 15-20 minutes
-

Shopping List
Flour: Cake Flour/T45 or Pastry Flour/T55
Granulated Sugar
Eggs
Large Vanilla Bean or Vanilla Extract/Paste
Sea Salt
European Cultured Butter
Crisco Shortening
Whole Milk
Ingredients & Steps
-

Ingredients
Flour (T45 or T55) 340g
Granulated Sugar 150g
Egg Yolks 2 large
Vanilla 1 tsp extract/paste or 1 bean
Sea Salt 1tsp
Butter (Cold, Diced) 110g
Shortening (Cold, Diced) 110g
Whole Milk or Water (Cold) approx 2 oz -

Steps
STEP 1: DRY INGREDIENTS
Whisk together dry ingredients in a mixing bowl.
STEP 2: INCORPORATE FAT
Cut the fats into the dry ingredients with a pastry cutter. Add the diced fats a little at a time. As you cut them in make sure the diced bits are separated and coated with flour. Do this with the cutter or cold utensils - not your warm hands.
STEP 3: EGGS & VANILLA
Whisk vanilla in with the egg yolks then mix this into the dry ingredients with a whisk and pastry cutter. Evenly distribute the egg and keep cutting the mixture to finer bits. Do not mash up the butter in the process- just cut. In the end the mixture should be like a grainy meal (not dough).
STEP 4: LIQUID
Slowly mix in the cold milk or water with the whisk and pastry cutter. Do not mash - just keep cutting up the mixture into grains. You want just enough liquid for the pieces to start to stick together. At this point use a spatula to gently form a ball of shaggy dough.
STEP 5: DOUGH BALL
Turn out the ball of shaggy dough from the bowl onto the floured pastry matt. Handling it as little as possible, shape up the ball then cut the ball in half. One half makes the bottom pie crust. The other half makes the top crust or a second bottom crust.
STEP 6: CHILL & SET
Wrap both dough balls in plastic and place them in the refrigerator to rest and chill for at least two hours. If you like, make the dough ahead of time and use it the next day or two.
STEP 7: BRING DOUGH TO ROOM TEMPERATURE
Remove the 4dough from the refrigerator and set aside at room temperature for 30-60 minutes until it is at room temperature while you preheat the oven.
If it is too cold, it will crack when you roll it.
If it is too warm, the butter will get soft and the pie crust will be ruined. I find it best to test by hand.
When it is not hard to the touch, but not so soft to squeeze, it is ready to use. If it actually squeezes or feels soft, it is too warm. You only want it to get to about 68-72F (not 75-80 which can happen easily in the south or if your kitchen is warm from cooking. In that case, de-chill it in another room, like the dining room.
STEP 8: FORM THE PIE CRUST
1) Put a ball of dough on a floured pastry mat and gently press and spread with your hands spreading it into a circle. Use the rolling pin to finish spreading the circle.
2) Roll the circle of dough around your rolling pin and unroll it over the flan pan.
3) Press to fit it into the pan.
4) Cover the crust in the pan with plastic wrap (touching the dough) and refrigerate for at least 1 hour.
STEP 9: BLIND BAKE
If you don't blind bake your crust chances are it will not be all the way done after baking your dessert or it could get soggy too - depending on what you're making.
Prick tiny holes in the crust all over with a fork. This keeps it from getting puffy.
Put a layer of parchment paper over the crust and fill it with pie ball or beans.
Put the crust into the preheated oven at 375F for 15-20 minutes.
Bake uncovered until light golden.
Let the crust cool to either room temp or match the temp of your filling.
Your crust is ready to use.
Notes
There are two popular ways to crust a flan 1) full crust up the sides 2) bottom only crust. I personally like thee bottom only crust. It's easier and the crumbly cookie like crust is a little bit thicker, which I like. It the crust is for a pie, cover the sides and over the lip. If for a mini tart, mouse or entremet, use a pastry ring, plate or mold to cut your shape from the rolled out dough.
If it is golden on top, but needs a little more baking, cover with foil. For my oven I bake 10 minutes uncovered then 10 minutes covered. You don't want it raw, but you also do not want it fully cooked. Remove the crust from the oven and set aside to cool to room temperature or refrigerate before using. Depending on what you are baking, pouring it into a hot crust will start to cook it on the bottom and sides and you'll get an uneven bake.
Collections
-
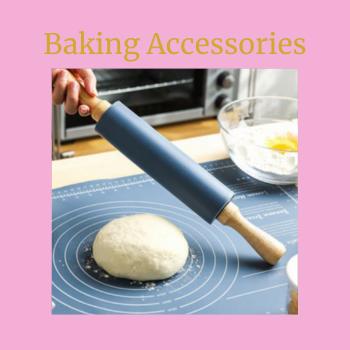
Baking Accessories
Shop our Baking Accessories for are all those things you use when...
-
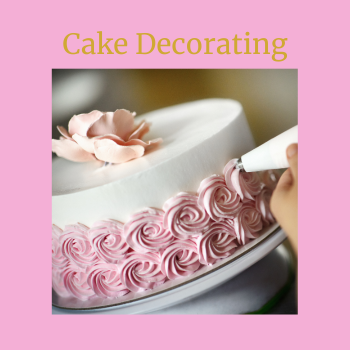
Cake Decorating
Shop our Cake Decorating collection for all of the tools and utensils...
-

Coffee & Espresso Makers
What is an exquisite dessert without an exquisite coffee or tea beverage....
-
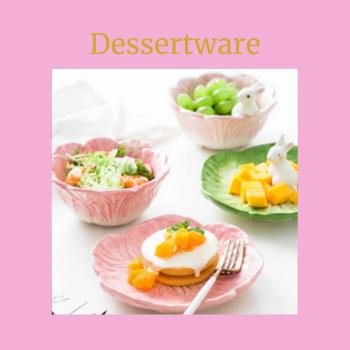
Dessertware
Shop dessertware with us for elaborate cake stands and dessert plates to...
-

Kitchen Appliances
Shop these 'must have' kitchen appliances. There are some compact cooking appliances...
-
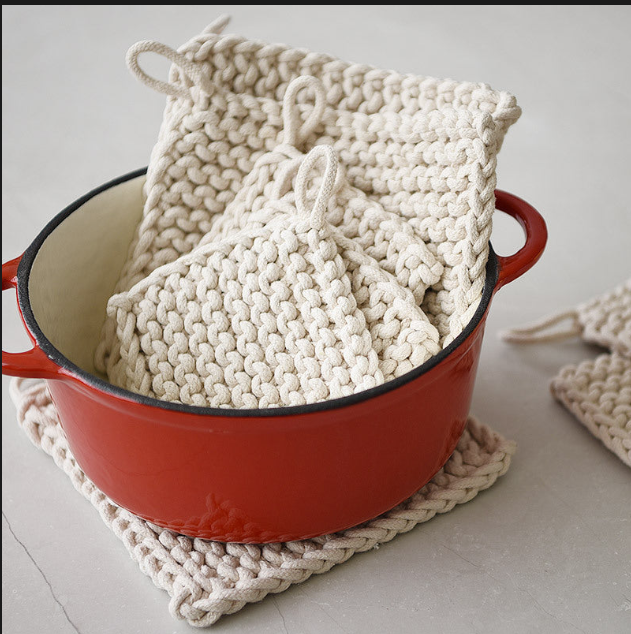
Kitchen Linens
Shop kitchen linens here for a fabulous selection of aprons for everyone...
-

Food Storage
Food Storage products are more than just something to put foods into....
-

Kitchenware
Shop kitchenware with us for everything from tools and utensils to gadgets...
-
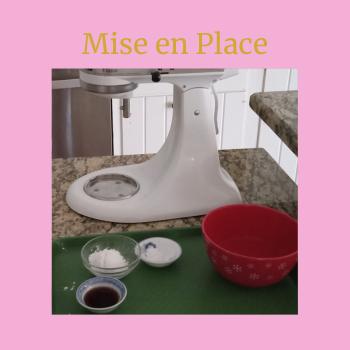
Mise en Place
Mise en Place - A French term meaning everything in its place....

