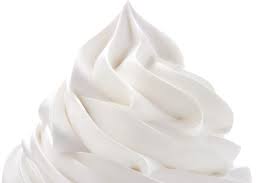
Chantilly Cream (Whipped Cream)
Everything is better with whipped cream! Whipped cream is not just for cakes, pies, and pastries, It’s for hot chocolate, coffee, Irish Cream, or use it to turn a simple bowl of fruit into a decadent dessert.
Whipped Cream is simply cold heavy cream and sugar. It is the methodical aeration of the frosty cold cream that whips it into a cloudlike, fluffy, mouthful of heaven.
Chantilly Whipped Cream is simply sweet whipped cream with vanilla added - it's the only kind I ever use. Even if you are making it another flavor you still want vanilla as a base.
Chantilly Cream (Whipped Cream)
Whipped cream is not very stable, meaning you can’t count on it to hold its shape and volume for long, so especially if you are using it to decorate a cake or where it will be sitting out a while you must use add the optional stabiliser.
You’ll the the options under ingredients and methods below. Anytime you are not going to consume it immediately, I recommend you add a stabilizer (corn starch or gelatin).
Planning
-

Prep Time:
10 minutes
-

Bake/Cook Time:
Uncooked
-

Chill/Set Time:
Not Applicable
-

Servings:
2 cups
Preparation
-

Materials
Stand Mixer with Whisk
Hand Whisk
Spatula
Mixing Bowl with Cover or Plastic Wrap
-

Prep
Chill the cream, mixing bowl and utensils in the freezer for 20 to 30 minutes beforehand.
Make sure everything is completely dry -You want them to be as cold as possible without freezing, building up frost. You want them utterly dry-no moisture. -

Oven/Stove
-

Shopping List
Heavy Cream aka Heavy Whipping Cream (35% fat)
Confectioner’s Sugar
Cornstarch (Optional)
Vanilla Extract or Paste
Gelatin (Optional)
Gel Food Coloring (Optional)
Other Flavor Extracts (Optional)
Ingredients & Steps
-

Ingredients
Heavy Cream (35% fat) 240 ml (1 C/8oz)
Confectioner’s Sugar 30g (1/4C)
Vanilla Extract 2 tsp
Cornstarch (Optional) 5g (1 tsp)
Gelatin (Optional) 1tsp per 225g (1C) of Heavy Cream. Mix tsp of Gelatin in 4 tsp of water or cream.
-

Steps
STEP 1: Add the cream to the mixing bowl and start whipping on low (about 4 on a Kitchen Aid mixer). Let the cream get frothy and a little more body (1-2 minutes) before you add the sugar and corn starch. Gradually mix in the cornstarch then the sugar a little at the time (Don't go too fast!).
ADD AN EXTRA 1TSP TO MAX OF 1 TBSP CORNSTARCH TO SUGAR (IF USING CORNSTARCH STABILIZER - NOT TOO MUCH!)
STEP 2: As the cream begins to thicken gradually sift in more confectioner’s sugar a little at a time and increase to medium low (about a 6 on Kitchen Aid mixer). Continue adding sugar gradually until it is all incorporated
then add the vanilla. Continue on medium until the mixture is getting thick.(about 3-5 minutes)
STEP 3: Continuing to slowly sift in confectioner’s sugar then gradually increase the mixer speed to medium (About Level 7) until the mixture is getting thick.(about 3-5 minutes)
STEP 4 : Add in the vanilla extract and any other flavoring and food colors. Increase speed to high (about 8 on a Kitchen Aid mixer) and continue to soft peak (about 1 to 2 minutes)
STEP 5: If you are using a gelatin stabilizer, add it at this point. Continue whipping on high (Level 8) to a firm peak if that is your goal.
Keep an eye on it and test it - you don’t want to overwhip! It goes from not ready to ready in an instant. If you pass that ready mark by even seconds, it can quickly curdle and separate.
GELATIN STABILIZER (Optional)
Gelatin 1 tsp + Cold Water 4 tsp per 240ml (1C of heavy cream)
STEP 1: In a small pan, combine gelatin and cold water; let stand until thick.
STEP 2: Place over low heat, stirring constantly, just until the gelatin dissolves.
STEP 3: Remove from heat and cool (do not allow it to set).
STEP 4: Whip the cream with the icing sugar, until slightly thick. While slowly beating, add the gelatin to whipping cream. Whip at high speed until stiff.
CORNSTARCH STABILIZER
Cornstarch 1tsp per 240ml (1C of heavy cream)
Just mix in the corn starch with the confectioner’s sugar.
Notes
MAKING A SUCCESSFUL WHIPPED CREAM
SWEETNESS
Vary to Your Taste You’ll notice that this recipe is flexible on the ratio of ingredients. Many baking recipes require you to be very precise. You have leeway in this to make it sweeter according to your tastes. You can add in more vanilla or additional flavors according to your tastes.
The one thing you cannot do is cut down on the sugar too much. It’s the sugar that develops and stiffens the cream. More sugar=more firm. Too little you won’t get it whipped to a fluffy consistency.
if you want it stiffer but not sweeter add some additional corn starch rather than sugar.
COLDNESS
Cold, Cold, Cold. Yes, you want everything, including your bowl and utensils very, very, very cold! Chill cream, mixing bowl and utensils. The colder the better- just not freezing.
FAT CONTENT
Use Heavy Cream 35% fat. If it isn’t heavy, it won’t whip. You need to use a heavy cream. You can get it to whip with a light cream aka whipping cream but it lacks the body and holding power of the heavy cream. Creams that lack adequate fat content or milk contain too much water.
It may not whip at all or if it does it will be watery and separate. If the carton reads “whipping cream” it is not heavy, it is light. You can also use canned condensed milk which is heavy cream.
THE WHIP
Start whipping slowly - even by hand. The slower you bring up the consistency, the more firm and stable it will be. Increase gradually. Pay close attention and do not over whip. You may want to whip by hand as it gets close to ready.
There ya go! Sugar, Cold, Fat, and a low careful whip - and that’s how you get a nice whipped cream.
STABILIZERS
Always use the stabilizing options above if all the whipped cream will not be consumed immediately.
STABILIZED WHIPPED CREAM WITH GELATIN
STEP 1:Hydrate the gelatin. In a small melting pot, combine gelatin and cold water or cream. Let it set until thick.
STEP 2: Place the melting pot over low heat, stirring constantly, just until the gelatin dissolves.
STEP 3: Remove from heat and coo to lukewarm (do not allow it to set).
STEP 4: Mix it into the whipped cream on high (Level 8) when you reach soft peak.
That should be enough to bring it to a firm peak.‘ You may even want to do the very final whipping by hand with a whisk so you can feel the thickness. You have better control and less chance of overwhipping and ruining it.
STABILIZED WHIPPED CREAM WITH CORNSTARCH
Just mix in the cornstarch with the confectioner’s sugar.I always add a little corn starch at the beginning no matter what. It helps to get the cream to get the process going. Confectioner’s Sugar Also the more confectioner’s sugar you add the stiffer it will get. The downside is that if you rely only on this it could be too sweet - you need to taste test to your liking.
FLAVORING
As for the flavor of the whipped cream, you can do wonders with various flavors that match a chosen dessert. At the same time vanilla never, ever disappoints and it goes with everything.
Some flavor combinations I like:
Almond whipped cream with almond cake or in a macchiato.
Caramel whipped cream on a rustic tarte tatin or a warm blondie.
Rum whipped cream on peaches or a tiramisu.
COLORING TECHNIQUES
If you like you can dress up your whipped cream with food coloring. Use one color or swirl two or three colors together. You can also create multiple colors of whipped cream and twine them together, make swirls or other effects.
Type of Food Coloring: Use only a gel food coloring or powder food coloring (not an oil-based liquid) Any hint of oil at all will break the whipped cream.
DECORATING
If you like you can dress up your whipped cream with food coloring. Use one color or swirl two or three colors together. Decorate cakes, cookies, cupcakes, or brownies with a piping bags and whipped cream in festive colors.
A looser whipped cream aka soft peak, can be used immediately to top fruit cobbler, pie, sundaes, and hot chocolate.
If you want to ice a cake or put between layers of a cake (i.e. Chantilly Cream Cake), or if you want to do pretty piping on a cake you want a firm - very firm whipped cream - and I recommend you stabilize it with gelatin so it can hold the weight of the layers and maintain decorative shapes.
You can get piping tips and converters that help you make two color and three coloring piping. (See bakeware accessories in Products section)I am also very fond of pearls, sanding sugar, and sugar glitter, and confetti on top of a shiny white whipped cream.
PAIRING
Whipped cream is the one thing that does with everything. Use it as a topping for pies, tarts, pastries, ice cream, fruit, and as a cake icing. Whipped cream is also a basic ingredient in many recipes such as mousses and trifles, so get your whipped cream whipping!
SERVING
Use freshly whipped cream immediately. You can spoon it, spread it with a spatula or pipe into shapes with a piping bag.
If you are not serving immediately go only to a strong soft peak rather than a firm peak as you will have to re-whip it prior to serving. (See notes on how to do this right so you don’t break the whipped cream).
STORING
Always use the stabilizing options above if all the whipped cream will not be consumed immediately. Heavy cream can last up to about a week in the fridge. The addition of stabilizers like gelatin, non-fat milk powder, or cornstarch can extend its stability by a few days.
Whipped cream will keep in the refrigerator for up to two days in an airtight container. It is going to deflate and wilt, so it’s best to use it immediately. When I have extra whipped cream I put it in the refrigerator and use it in coffee, hot chocolate and fruit.
If you have more than a little left over - or you just want to make a batch for future use (your own homemade cool whip, you can store it in an airtight container in the freezer. Plan on keeping it a couple of months. Thaw it over several hours in the refrigerator.
Alternatively, you can pipe shapes of the homemade cream and freeze it for when you need a bit of cream on your baked dessert of choice.
PEAK FIRMNESS
Soft Peak aka Soft Whip: Lift the whisk and a graceful longish point of whipped cream drapes off the tip in a graceful arch.
Firm Peak aka Space Needle: Lift the whisk and the peak stands up firm and holds its shape. Turn the whisk or bowl upside down and it doesn’t fall out.
Super Firm Peak: The whipped cream forms a firm ball in and around the whisk. You may have a top shooting off but that tight ball in the whisk is what differentiates this from the standard Firm Peak. This ball of whipped cream is as firm as it gets and indicates that you have come right up to the precipice of overwhipping it. When you see the ball - STOP!
Collections
-
Baking Accessories
Shop our Baking Accessories for are all those things you use when...
-
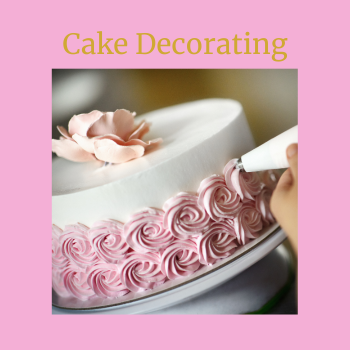
Cake Decorating
Shop our Cake Decorating collection for all of the tools and utensils...
-

Coffee & Espresso Makers
What is an exquisite dessert without an exquisite coffee or tea beverage....
-
Dessertware
Shop dessertware with us for elaborate cake stands and dessert plates to...
-
Kitchen Appliances
Shop these 'must have' kitchen appliances. There are some compact cooking appliances...
-
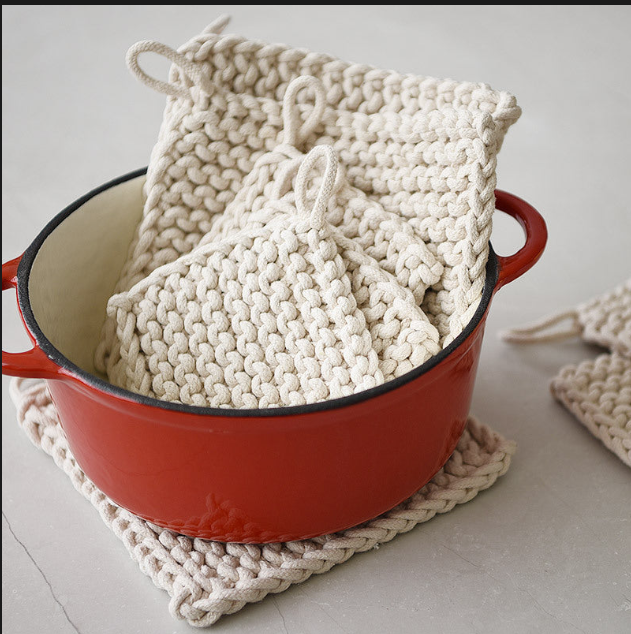
Kitchen Linens
Shop kitchen linens here for a fabulous selection of aprons for everyone...
-

Food Storage
Food Storage products are more than just something to put foods into....
-

Kitchenware
Shop kitchenware with us for everything from tools and utensils to gadgets...
-

Mise en Place
Mise en Place - A French term meaning everything in its place....

